I decided to go for the default sun and sky render as I specifically wanted my character walking off into the distance / horizon. To start with I just made a plane for him to sit on to create the shadows as well as grounding him. To start with, the render was very blown out and for some reason Maya wouldn't let me adjust the intensity of the sun so I couldn't counter act this. I then remembered that I had to turn off final gathering under the render settings which eliminated this over contrast, however, the shadows it created on the model were completely black making it hard to see the detail of the model on that particular side.
To solve this issue I also added two lights behind him to even out the shadow. Im am very pleased with this final out come and will apply this method to all of my scenes.
COMPARING DIFFERENT LIGHTS:
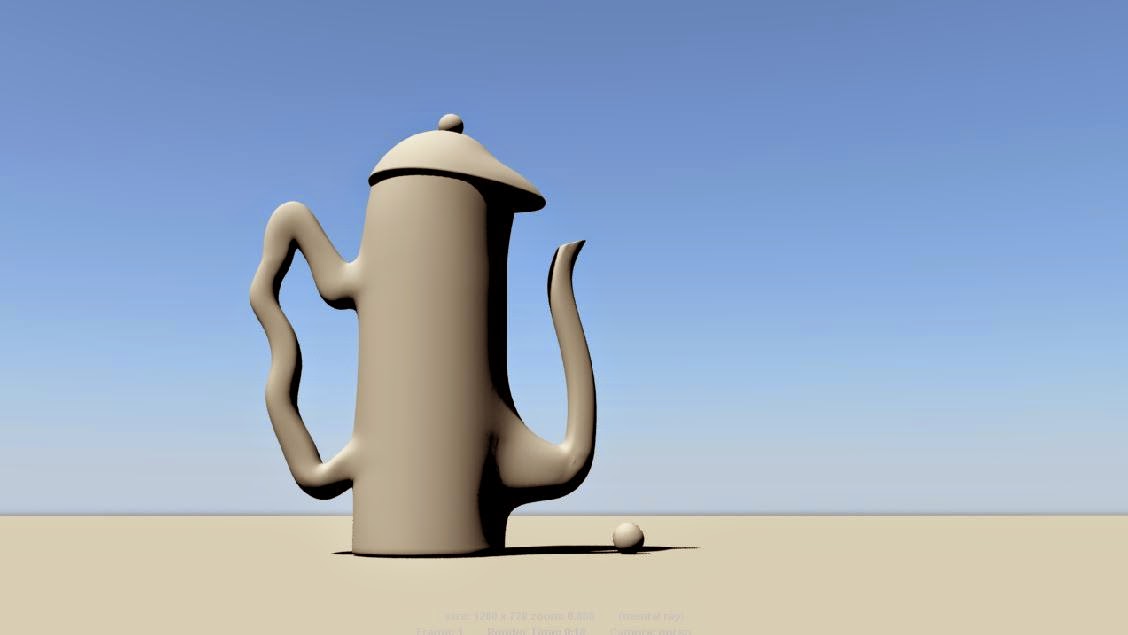 |
| No Extra Lighting |
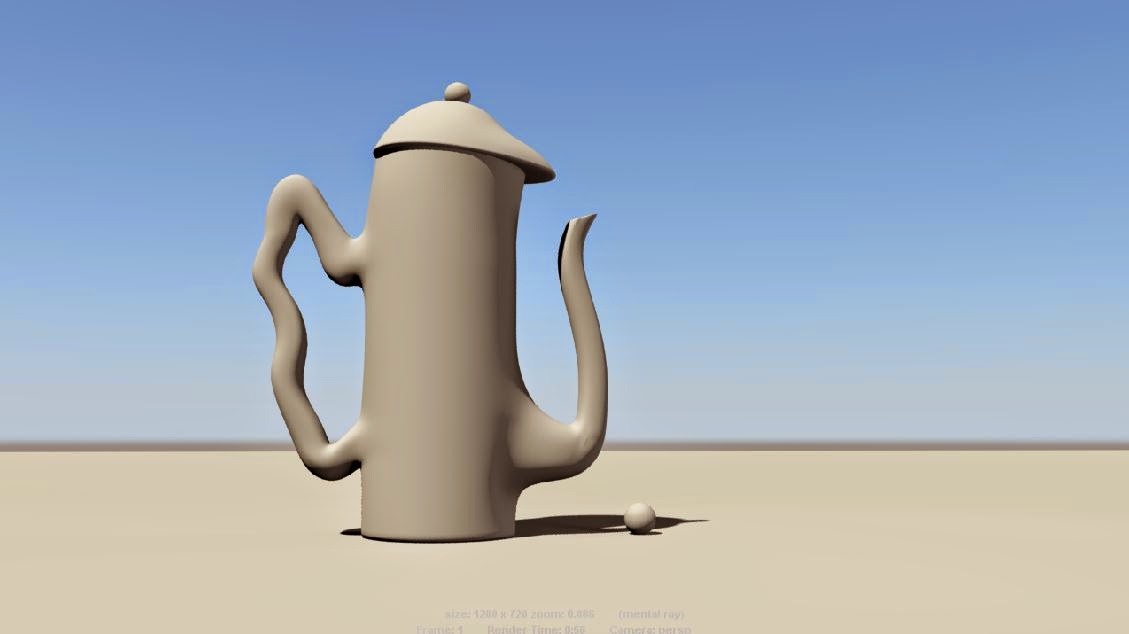 |
| Two Studio Lights |
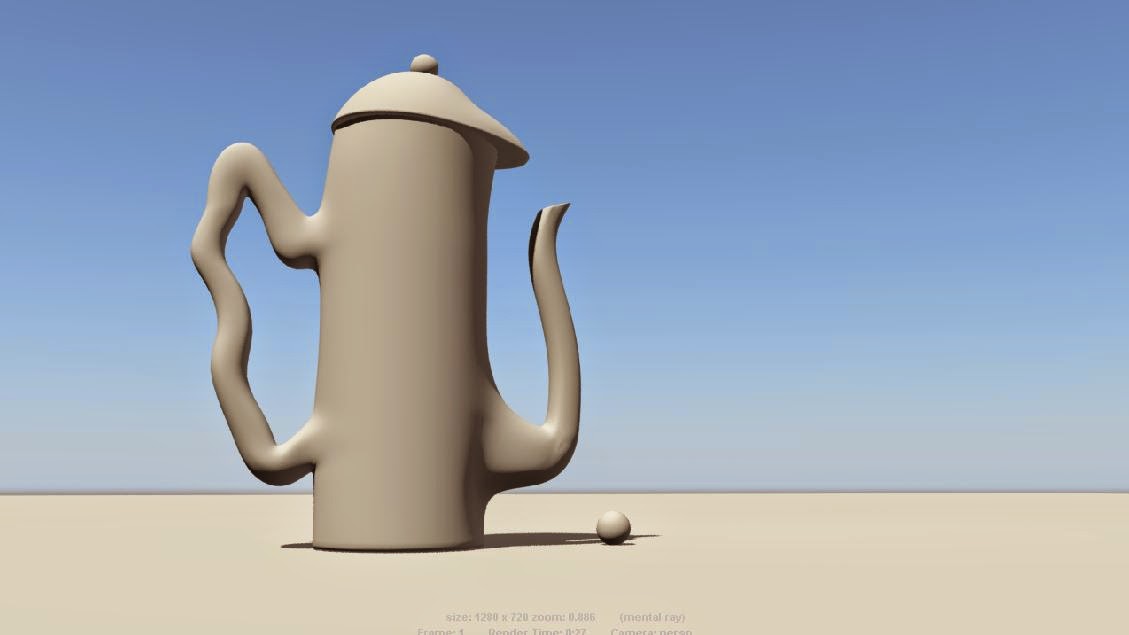 |
| One Ambient Light |
In conclusion, I feel the two studio lights gives off the nicest effect. It still holds some shadow without being to harsh but not too soft either. The ambient light is good for removing the intense black shadows but it seems to make the model look washed out and soft around the edges. There isn't quite enough contrast.


No comments:
Post a Comment