Unfortunately I was unable to finish what I set out to complete with my toy assignment. However, I am happy with what I did produce. When it comes down to it, I was just over ambitious and since I have never really done anything like this before when it comes the the physical stuff, everything just took A LOT longer than I expected it to. Going into the final week I thought I was at a good place with my work and was confident that I'd get it all done. It was once I started working on my final model that I began to realise how much work I truly had to do.
On a lighter note, I am extremely pleased with how the texture and final paint job of the exterior shell turned out. The colours sort of vary a little in some places but I think that adds to the look. The construction of the exterior itself I am also proud of since this was my very first physical 3D model that I have made since the not as great ones we had to make in first year. My printed 3D models for the game pieces are probably my favourite part of my assignment. They turned out just as cute as I had hoped for. The paint job is a little dodgy in some places but I think I did really well considering how small they actually were. And the size of the smallest brush I had didn't help either.
Overall, I learnt so much about toy design and physical modelling and I am definitely planning to continue building my playset to more of a final outcome. I really enjoyed this paper, was a great time apart from the extreme stress I had in the final week before hand in.
Thank you and goodnight.
Showing posts with label Toy Design. Show all posts
Showing posts with label Toy Design. Show all posts
Saturday, 5 December 2015


Final Packaging
Used one of the photos I took of the final painted texture as the background for the slip. The colour is a little of but still reaches the point of it trying to blend into the playset. Unfortunately since I ran out of time I wasn't able to develop the rest of the design as much as I wanted to.


Painting the Game Piece Models
Kinda messed up trying to prime my models.. I had bought a white spray paint primer and it was working ok except was going on a little thin. When I tried to put more on, the paint would settle in some of the small details eg. the Cat Princess's ear wholes and where the paws meet the Cat People's body. This made me worried I'd lose even more detail so I panicked and tried wiping it away. And this is how they turned out -


From here I thought it would just be best to finish off the priming by painting on some white paint myself. I quite enjoyed the brush texture this left as well.

Since the grey skin was present on every model, I thought that would be a good place to start with the colour painting.


Adding the colour of the bodies -


Skipping ahead to when the painting was finished. I added a transparent coat of gold paint over top of the orange to make the Cat Princess's dress look all shiny and pretty since she is meant to be in her birthday attire.
So I printed out little faces and wee crowns onto sticker paper to try stick onto the models. The crown wasn't too bad to cut out and stick on so that worked out quite well. However, the faces where a different story. They were just ridiculously small and I just couldn't cut them out.

I had a brain wave and decided to try drawing the face on with one of my ink pens (I don't know hoe I hadn't thought of this earlier). Unfortunately my first attempt at the Cat Princess's face looked a little stuffed up and then I made the mistake of trying to rub it off..

Sad smudged face Cat Princess is sad. Had to redraw on the second copy of her

Final painted models on the ballroom floor! Unfortunately I did not leave the ink long enough to dry so they smudged a little but still pretty happy with how they turned out. Ill more than likely paint over them and redraw their little faces when I get my project back
Constructing (some) of the Interior
I found a cheap game at the Warehouse that had the exact dice roll mechanism I was wanting to create. Which worked out quite well as I couldn't find the clear baubles that the Warehouse said they had on their website.. I even tried going all the way to the Porrirua outlet!

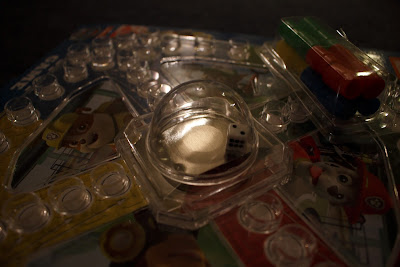

The plastic was quite thick so I couldn't cut through where I wanted so when I attempted to push it out the rest just cracked. It didn't damaged the mechanism itself but I wasn't too sure how I would secure it onto the board without altering how the metal pops.

Painting the inside

The wet paint tore my paper hinges, particularly this one. Will have to reinforce with more paper

How far I got with the Princess's Castle -


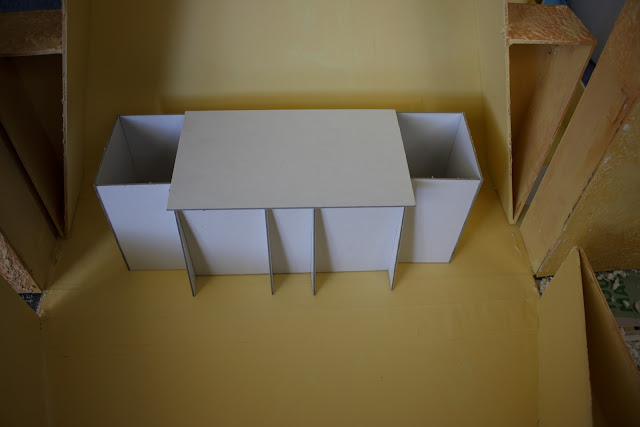

I need to put little supports above the sliding wings so they are secure in place and can't be removed.
Im really disappointed with how little I got done of the interior of the playset. I had such high expectations and this really great image in my head of how it would all look put together but I just ran out of time. Everything just took so much longer than I thought it would and Im sad
Painting the Exterior


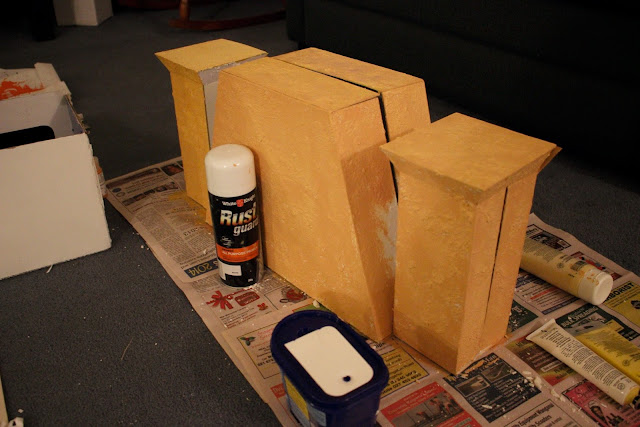
Dry brushed a lighter colour on top to emphasise the texture -


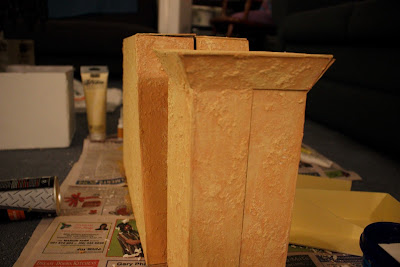
Adding the supports -


Tried to make little slots where the pillars would clip into place which kinda worked, but what I wanted it to do was to stop the pillars flopping down when the playset was picked up from the middle. This issue would be more than likely solved if it was made of of plastic with the same sort of mechanism. Was worth the try anyway.


Final painted and textured model -

Constructing Playset Outside Shell
Used a thick pasteboard to put together the shell pieces -
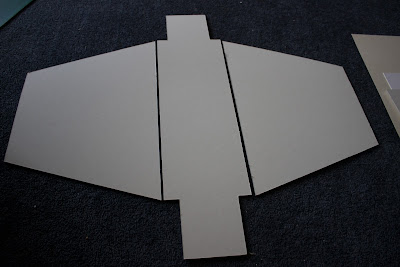


Adding texture with Seeley's Rapid dry -


Creating a clipping mechanism for the separate pillar walls -

Subscribe to:
Posts (Atom)